Welcome December, Welcome Winter

IMG_1638

Happy December! I hope you had a wonderful Thanksgiving! I was fortunate to spend the day (actually several days) with family from all over the country. Thanksgiving is undoubtedly one of my favorite holidays. Without the pressure of gift-giving or decorating that comes with Christmas, Thanksgiving is time to gather with family in the kitchen and around the table to share stories, exciting news and partake in a delicious meal – obviously my favorite part!

With all this in mind, I have for you two wonderful recipes for this time of year. If you are looking to hold onto those last notes of autumn then this Pumpkin Bread is for you. On the other hand, as we start to fully embrace December I welcome you to enjoy a delicious roasted acorn squash recipe.

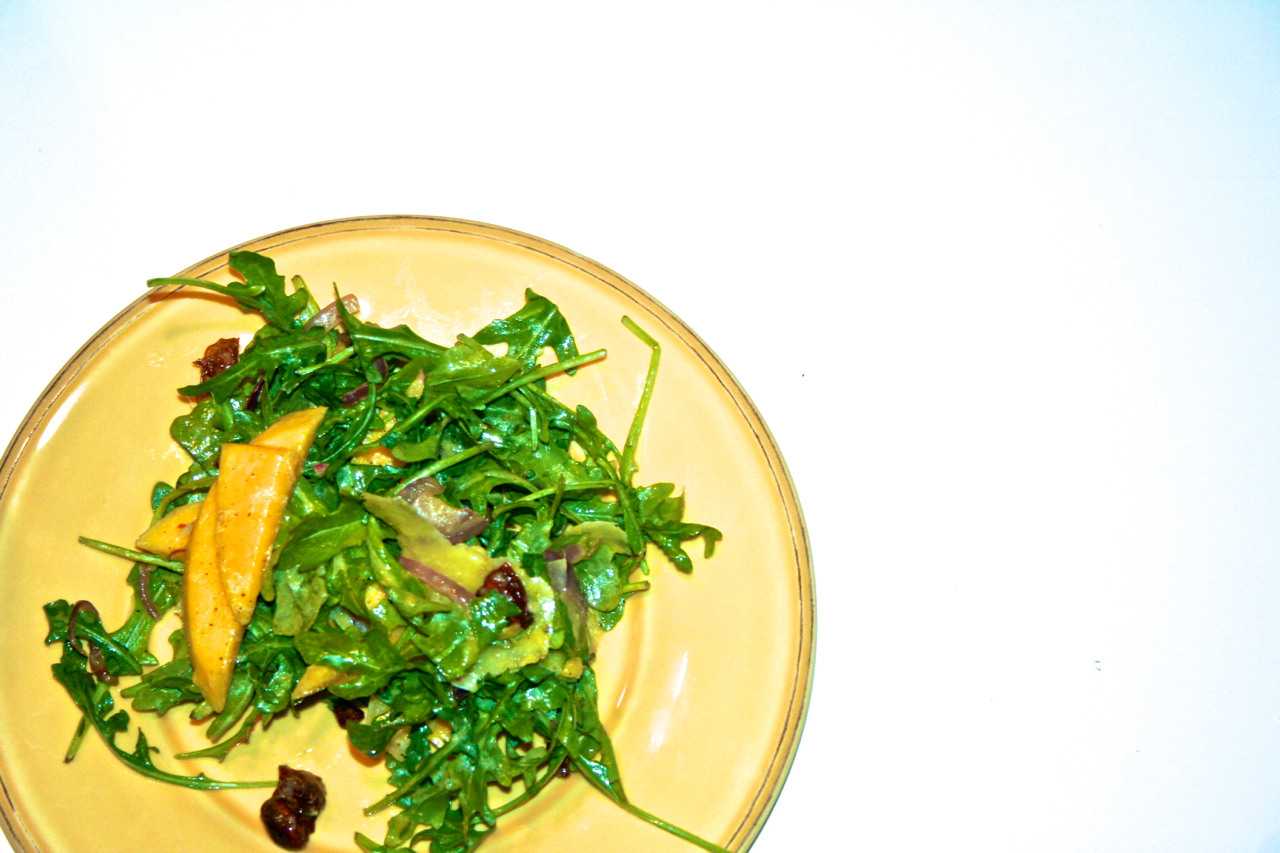
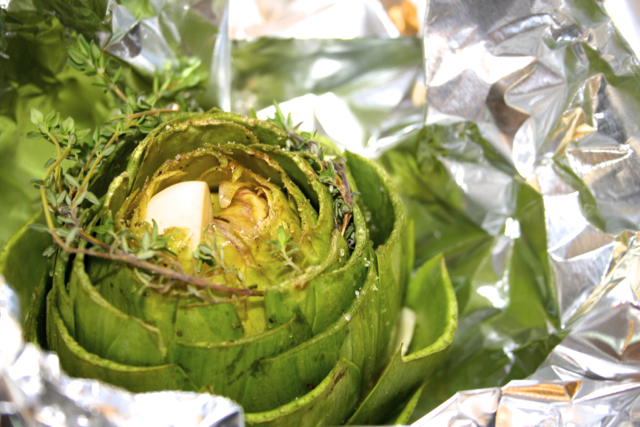
I must apologize for the poor photo quality. I was totally out of my element when I prepared these dishes and simply snapped some pics on my phone – so lame! Hopefully, I will make these again in the coming weeks and can get up some new pictures. However, I didn’t want to wait to get these wonderful recipes out to you – they are 100% delicious, so please don’t let my awful pictures hold you back!

Enjoy!

Tita

PS: Be on the lookout for lots of  posts prior to the Holidays **hint hint: nomz worthy spiced biscotti pictured below**

IMG_1696

Simple Pumpkin Bread

IMG_1630

Ingredients:

  • 2 cups sugar
  • 1 cup canola oil
  • 4 eggs
  • 1 can canned pumpkin (16 oz)
  • 3 cups flour – make sure to fluff flour before measuring (don’t pack it in!)
  • ¾ cup water
  • 1 teaspoon vanilla extract
  • 2 teaspoons of baking soda (make sure it’s fresh!)
  • pinch of salt
  • 1 ½ tablespoons cinnamon
  • ½ teaspoon cloves (preferable freshly ground!)
  • ¼ teaspoon freshly ground nutmeg
  • ¼ teaspoon ground ginger
  • ¼ teaspoon allspice

Directions

  1. Preheat oven to 350ºF. Prepare loaf pans with non-stick spray – two large loaf pans or several mini (likely 4-5, depending on how full you like them!)
  2. Using mixer, beat sugar and oil with paddle attachment. Add in eggs one at a time. Slowly mix in pumpkin, water and vanilla extract. Blend well on medium speed for 2-3 minutes.
  3. In medium sized bowl mix together dry ingredients – flour, cinnamon, clove, allspice, ginger, nutmeg, baking soda and a pinch of salt.
  4. Feel free to mix in any add-ins you like – dark chocolate, crystallized ginger, hazelnuts, pecans – they are all delicious!
  5. Pour batter into prepared pans. Bake for about an hour or until toothpick inserted comes out cleanly.

________________________________________________________

Stuffed Acorn Squash

Serves 6

IMG_1631

Ingredients:

  • 3 acorn squash, cut in half with seeds/gunk scooped out
  • 4 tablespoons of butter, melted
  • 6 tablespoons of brown sugar
  • 1 1/4 teaspoons cinnamon
  • ½ pound boneless, thin chicken breast
  • 1/3 cup olive oil
  • 2 limes, juiced (approximately 3-4 tablespoons)
  • 3 cloves of garlic, minced
  • ½ teaspoon cumin
  • ¼ teaspoon of cayenne (omit if you don’t like spice)
  • ½ cup cooked quinoa
  • 2 loosely-packed cups of baby spinach
  • 1 shallot, diced
  • sharp white cheddar cheese (I like Whole Foods seaside cheddar)

Directions:

  1. Preheat oven to 425°F
  2. Line acorn squash in baking pan – trim bottoms if squash won’t sit flat – brush the flesh of acorn squash with melted butter, make sure you coat the whole inside! Sprinkle 1 tablespoon of brown sugar in each squash half. Season with salt and pepper and a little dash of cinnamon (about ¼ teaspoon). Bake in oven for 50-55 minutes (lower-middle rack).
  3. Meanwhile, prep the chicken breast and bake in same oven as squash. Place the chicken in a baking dish and toss with olive oil, season with salt and pepper. Bake for 10 minutes. Then toss your baby spinach and shallots in with chicken so it can wilt and cook a bit. Cook for 10-15 minutes or until chicken is cooked all the way through. Allow to cool for a few minutes, then shred chicken with two forks.
  4. Mix up olive oil, lime juice, garlic, cumin, cayenne and remaining cinnamon (approx. 1 tsp) – add salt and pepper to preference. Then combine with wilted spinach, shallot, chicken, and quinoa.
  5. When squashes are ready, pull them out of the oven. Using silicone brush coat squash again with any liquid that has pooled up – don’t worry about extra liquid, it’s extra delicious! Evenly distribute quinoa/chicken mixture among squash. Shred cheddar over stuffed squash to get a nice topping.
  6. Put the squash back in the oven until the cheese is melt-y and everything is nice and warm!
  7. If you want, prepare squash ahead and then throw them in a 300°F oven for about 30 minutes – or until heated through and cheese has melted.

I’m back and bringing you an apple tart tatin!

IMG_6486

So, I know it’s been forever and ever since I’ve posted and I’m sorry!  Time simply got away from me! With summer work, family affairs and catching up with friends I’ve been swamped! Now, that I’m settled back at school I’ve been stocking up on my favorite fall recipes and am thrilled to have the opportunity to share one with you today!

Can we pause for one second and just look at the beautiful colors outside. I love fall, and it’s far and away my favorite season with its stunning foliage, crisp weather and (of course!) delicious treats.

This Apple Tart Tatin recipe is an absolute show stopper. The recipe is super simple, and the presentation is absolutely flawless. I’m telling you, I was oohing and aahing myself at the wonder of such a beautiful dessert. The most important step is that you serve the tart immediately – not that you’ll be able to resist anyway! – but allowing the tart to sit can create a soggy crust. A soggy crust is a big no-no in my book as it ruins the wonderful contrast between those warm velvety caramel apples and your crisp puff pastry.

Enjoy! XO, Tita

IMG_1628

Apple Tart Tatin

6 Medium Apples (I used honeycrisp as they were picked locally, but I bet you would get great results with Golden Delicious, Granny Smith or other common apple pie varieties)

1 Lemon

6-7 Tablespoons of butter

1 vanilla bean

1 cup of sugar, plus about ¼ cup extra

1 Sheet of Puff Pastry

1. Peel and core apples, then cut into quarters. *a great tip is to core the apples with a melon baller so they maintain their round shape* Toss apple quarters with the juice of 1 lemon.

2. Heat a 10-inch cast iron skillet (it’s gotta be a super heavy duty skillet) over medium heat and melt down 6 tablespoons of butter. Once melted add in 1 cup of sugar and the seeds of vanilla bean.

3. Whisk the sugar and butter mixture continuously until the sugar dissolves and combines with butter to form a caramel. Continue whisking to combine until you have a nice golden, amber caramel. *Note: this takes a long time and can get a little sticky. I promise if you tough it out and keep whisking all will end well.

3. Once caramel has formed, and butter and caramel mixture are almost, if not totally incorporated remove skillet from heat.

4. Arrange the apples in the skilled round side down. Fill up one full layer, and if you  have more apple quarters left start a second.

5. Return pan to stove over medium heat and cook in caramel sauce for another 25-30 minutes. While the caramel apple mixture is cooking regularly poon liquid from the bottom of pan and coat the apples on top. Note: you want to wait a few minutes before trying to coat apples as the caramel may have hardened while off stove.

6. While apples are cooking preheat over to 400°F.

7. Roll out puff pastry sheet and sprinkle with flour. Cut a circle of pastry dough that is about two inches wider than your skillet and add a few vents.

8. Once the apples are soft – a little bit firmer than an apple pie filling – remove from heat. Cover pan with puff pastry and tuck edges down and around the apples to the best of your abilities – this produces a nice edge to the crust. Ensure that vents are open to allow steam to escape while cooking.

9. Transfer to oven and cook until puff pastry is golden brown, about 18-20 minutes.

10. Remove from oven and allow to rest for 2-3 minutes. Put on oven mitts, cover skilled with plate (its okay to crush the pastry a little here) and flip. Ta-da!! A beautiful tart tatin before your very eyes! Serve immediately!

Light and Lovely Mango Salad

IMG_6700

Yummmmm. When I think of summer I think of warm, fresh fruits and delicious tropical flavors. On a recent treasure hunt through the fridge I spotted a ripe mango hiding away beneath a bag of grapes. It was too perfect and I knew I just had to use it! I was considering eating it right then and there – nomz – but decided against it. I had high hopes I could come up with a recipe that would elevate the ripe mango’s flavor and creamy texture. As it was nearing the dinner hour I set forth to create a fresh, light salad that would be filling and fruity.

Have you ever had one of those days where creativity just strikes? Maybe? Kind of? Well I took to the vitamix and thought to myself let’s make up a super fun dressing and go from there!  Little did I know the ripe mango becomes incredibly creamy when blended and allowed me to create a delicious and thick dressing with almost no oil! Crazy right? Well I certainly was pleased with my finger-licking good dressing! From there I popped things into the salad bowl along with a container of fresh abby arugula we had lying around! I hope you partake in this delicious dinner! Enjoy!

-Tita

IMG_6742IMG_6716

Light Mango Dressing

Ingredients:

  • 1/2 large, ripe mango peeled and cut into chunks
  • ¼ cup extra virgin olive oil – plus 1-2 tbsp. more for caramelizing onions
  • 1 clove garlic
  • 2 tbsp. Dijon mustard
  • zest and juice of 1 lime
  • juice of ½ lemon
  • ¼ cup agave (you could also use honey or maple syrup – I prefer agave)
  • 1 tbsp. fresh thyme
  • ¼ cup caramelized red onion
  • salt and pepper

Directions:

  1. Place 1 tbsp. oil in pan and heat under med-high heat. Add red onion and reduce heat to low. Allow onions to caramelize, stirring constantly for about 10 minutes. If around 7 mins, there is no liquid in pan add one tbsp. or two of white wine or broth. The onions will first become translucent and then develop into a beautiful amber color. It is tempting to turn the heat up but a higher heat only burns the onion and you lose out on the depth caramelizing provides. *
  2. Place mango, oil and garlic in blender, blend on high until smooth 1-2 minute.
  3. Add agave, Dijon mustard, lemon and lime juice and lime zest to blender. Blend until smooth, 30 seconds-1 minute.
  4. Add thyme and caramelized red onion to blender. Blend slightly – you want the thyme and onion to be pureed but still visible in dressing – 15-30 seconds.
  5. Use immediately in salad!

*NOTE: If making salad and dressing, I’d recommend slicing ½ red onion and caramelizing all of it. Then use part for the dressing and part for the salad. J

IMG_6713

Mango Salad with Candied Pistachios and Manchego

Ingredients:

  • 1 box of baby arugula (around 8 oz), washed
  • ½ mango peeled and sliced
  • 1/3 cup candied pistachios*
  • ¼ cup caramelized red onion
  • 2 oz of aged manchego thinly sliced with vegetable peeler
  • Light Mango Dressing

Directions:

1. Mix arugula, mango, pistachio and red onion in salad bowl. Shave manchego over salad and toss with dressing just before serving (the recipe above will likely leave you with some extra dressing)

 *NOTE: To candy nuts follow these simple directions: Preheat oven to 375°F. Then heat up a mix of sugar and water (1:2 ratio) in a small saucepan (1/3 cup sugar and 2/3 cup water should be good for this recipe) until the sugar dissolves. Once dissolved remove from heat and add in nuts. Mix well and make sure all pistachios are covered in sugar mix. Spread nuts on baking sheet (I recommend putting some parchment paper down so it doesn’t stick!).  Bake in oven for 15-20 minutes or until sugar is amber color.

IMG_6715

Overcast Artichokes

IMG_6605Hello World! I’m sad to say I woke up this morning to overcast skies and a general feeling of lethargy that comes with rainy days. I can only hope that the vegetables I planted yesterday (post to come!) are holding up under all this water. I’m a college student, so I’m fully enjoying my precious lazy-days of summer and the inclement weather is quite a buzz kill. Gone are my dreams of soaking up rays of sunshine and Vitamin D. Instead, I’m facing the reality of lots of quality time with the sofa *insert sloth mode here* ;). Oh well! I dooo miss my couch a lot while I’m at school. And as the saying goes, when life gives you lemons make lemonade.

Hmmm, now that I think of it this day could be perfect… if only it were accompanied by some roasted artichokes and my signature tangy, creamy dipping sauce. YUM. Are you drooling yet?! Well get ready to feast your eyes on some major food porn and an outstanding recipe. Follow my directions and you will transform those tough artichoke leaves into tender slivers of heaven. The perfect vehicle for my light and creamy garlic herb dip!

IMG_6599

My favorite part about this dish is that artichokes are super healthy and chockfull of fiber, folic acid and loads of vitamins and minerals. In fact, ancient Greeks and Romans considered artichoke to be an aphrodisiac and pregnant women were encouraged to feast on this meaty veg to ensure the birth of a son! Sexism aside, if it’s good enough for the Ancients it’s certainly good enough for me. The BEST news (you didn’t think it could get any better did you?!) is that artichokes are in season right NOW! As in go out immediately and get yourself some ‘chokes! I promise it’s worth the trek off the couch and into the rain. In addition, I highly recommend you make the dipping sauce – it’s light (using greek yogurt and reduced fat mayo) and is just tangy enough to bring out the citrusy flavor of the artichoke. Enjoy!

-Tita

IMG_6617

ROASTED ARTICHOKES AND TANGY DIPPING SAUCE 

Ingredients:

  • 2 Artichokes
  • 6 cloves of garlic (it seems like a lot, but trust me it’s just right!)
  • several sprigs of fresh thyme
  • ¼ cup extra virgin olive oil and additional olive oil for drizzling
  • ½ cup 0% plain greek yogurt
  • ¼ cup reduced fat mayonnaise
  • 1 tsp. ranch seasoning
  • ¼ cup chopped red onion
  • 2 tbsp. Dijon mustard (I particularly like Grey Poupon, but use whatever brand is your favorite!)
  • juice of 1 lemon
  • 1 tbsp. fresh thyme coarsely chopped
  • Salt and Pepper

IMG_6602IMG_6720

Directions:

  1. Preheat oven to 400°F
  2. Rinse artichokes under cool water to get off any dirt. Cut off woody stem – make sure to cut enough to make a flat bottom, allowing artichokes to stand straight. Trim off all the spiky points of leaves (careful, they’re sharp!).
  3. If some outer leaves seem super tough, remove them. Continue snipping off sharp tips until you reach the center. Some sharp tips will be in here so make sure to really dig your scissors in!
  4. Cut two cloves of garlic into long, thin slices. Place slices in between layers of leaves. 1 clove of slices per artichoke. (See above image for visual).
  5. Stuff two garlic cloves into the center of each artichoke. Push them down right on top of the heart.
  6. 6.     Place each artichoke into foil – don’t seal yet! Note: I like to double wrap mine with one smaller piece of foil wrapped tightly around artichoke and another larger piece to insulate – but you could probably get away with one layer.
  7. Drizzle each artichoke with olive oil (I’d say at least 1 tbsp. per choke) and season well with salt and pepper. Cover with one or two sprigs of thyme. Seal foil tightly around chokes.
  8. Place chokes in pan on medium-low rack in oven and roast for 1 hour.
  9. Remove from oven and allow to cool until able to handle. Open up foil (careful! hot steam will be coming out) and remove the garlic cloves from centers with small fork.
  10. Place garlic cloves, greek yogurt and mayonnaise in blender. Blend to combine. Add ranch seasoning, red onion, mustard and thyme. With blender running, gradually add in lemon juice and olive oil (alternating between the two). It should be nice and creamy – if too thick add a bit more olive oil. Season with salt and pepper to taste.
  11. Transfer dip to dish and serve alongside chokes!

Note: If you’ve never had an artichoke before it’s important to know that you only scrape the meaty part of flesh with your teeth! Dip the leaves into dip and scrape to your heart’s content! Once the leaves are gone you’ll be left with a weird looking center part covered in translucent purple leaves – sounds yummy right! haha – to get to the heart you have to remove the tough fibrous part (called the choke). You should be able to push it off with with your fingers and reveal the soft, luscious meat beneath! Buen Provecho!

IMG_6725

An Intro and Vanilla Lemonberry Pie!

IMG_6657IMG_6638

I can’t believe it! I’ve really done it. Started my very own blog! It’s not as though creating a blog is some groundbreaking achievement. In fact, a quick google search for “blog” yields 11.2 billion (!!) results. Essentially I’ve done nothing but join the masses and yet I can’t help but be excited – insert yelp here – and look forward to embarking on this journey with you all.

Anyhow, I plan for this blog to be a mash up of all the things I enjoy. From DIY to cooking and baking to the garden I plan to grow this summer, I want to create a catalogue of the things I’m doing, loving and thinking.

For my inaugural post, I’ve created a divine Vanilla Lemonberry Meringue Pie adapted from Bon Appetit with my own Vanilla Lemon Crust. I know the recipe may look daunting (plan at least two days to prepare!) and it is complicated, but I promise the end result is worth it!

-Tita

IMG_1258

VANILLA LEMONBERRY MERINGUE PIE 

Ingredients:

Vanilla Lemon Crust

  • 1 ¼ cup of flour
  • 1 stick of butter (nearly frozen, cut into ½ in cubes)
  • a pinch of salt
  • small bowl with water and a few ice cubes
  • ½ tsp vanilla extract
  • the zest of 1 small lemon (½ large)

Caramelized Lemon Curd and Mousse

  • 1 ½ cups sugar
  • 1 ¼ teaspoons of cornstarch
  • ¾ cup fresh lemon juice (about 6 lemons)
  • 9 large egg yolks
  • ¾ cup butter
  • ½ cup very cold heavy whipping cream

Vanilla Blueberry Compote

  • 1 ¾ cup fresh blueberries
  • 3 tablespoons sugar
  • the juice of ½ lemon
  • the zest of ½ lemon
  • pinch of salt
  • seeds of 1 vanilla bean
  • 2 tsp flour

Meringue

  • 5 egg whites
  • ¾ cup sugar

IMG_6647

Directions:

For the Crust:

  1. Add flour and salt to food processor (my mini-prep works perfectly for this or you could use a blender). Pulse to combine.
  2. Add butter 1/3 at a time (very important that the butter is nearly frozen!). Pulse until small clumps start to appear.
  3. Add 2 tbsps. of ice cold water, lemon zest and ½ tsp vanilla extract.  Pulse to combine, mixture should resemble a coarse meal.
  4. If dough forms when pinched together remove. If dough is still too dry, add water 1 tsp at a time. Check after each tsp.
  5. Turn out dough onto lightly floured or nonstick surface (such as a silpat) and form into disk. Wrap disk in plastic and go over quickly with rolling pin (makes it easier to roll out later). Chill 30 mins, up to 1 day. This can be done 1 day ahead.

For the Lemon Curd

  1. Caramelize the Sugar: Whisk sugar and water in pan over med heat until dissolved. Continue to stir sugar until it reaches a boil. Stop stirring and boil until mixture becomes a light amber. Swirl pot to distribute color.
  2. Meanwhile heat the lemon juice and cornstarch over med heat in a separate pot. Stir to combine. Add caramelized sugar to pot and whisk in yolks. Add butter. Whisk mixture constantly until curd thickens and boils. Immediately remove from heat.
  3. Transfer Curd to medium container and allow to cool. Press plastic wrap against surface of curd and refrigerate. Prepare at least 1 day ahead. Up to 3 days ahead

For the Mousse

  1. Using stand mixer, beat whipping cream with whipping attachment (beat around level 6 or 8 on kitchen aid) until stiff peaks form. It’s key that the cream is very cold and the peaks are very stiff!
  2. Fold ¾ cup lemon curd into cream, ¼ cup at a time. Chill mousse.

For the Blueberry Compote:

  1. Combine 1 cup blueberries, sugar, lemon juice, zest, salt, and vanilla in small saucepan.
  2. Stir over medium heat until sugar dissolves. About 5 mins. Whisk in flour and stir until combined.
  3. Remove from heat and add in ¾ cup to 1 cup blueberries. Transfer to small bowl and cool. Cover with plastic wrap just as you did with the lemon curd. Can be prepared 1 day ahead.

The Day of Serving:

  1. Roll out dough until large enough to fit 9in pie pan. Crimp edges and freeze for at least 1 hour.
  2. Preheat Oven to 375.
  3. Fill pie pan with parchment and pie weights or beans and bake for 20 minutes. Be sure to really fill up pie to prevent sides from “shrinking” – all butter crusts tend to do this.
  4. Bake for 15 mins or until sides are set. Remove weights and parchment. Brush edges with egg white wash and pierce any bubbles with fork. Bake for 20 minutes – until golden and cooked through. Cool
  5. Once crust has cooled, spread the remaining curd along bottom of crust. Spoon ½ blueberry compote over curd. Spread lemon mousse over blueberry – use knife and be careful to avoid mixing. Spoon remaining berries over mousse. Chill.

Meringue

  1. Bring water to simmer on stove. Whisk egg whites and sugar in a large metal bowl. Place bowl atop simmering water. Whisk until sugar dissolves – about 1 minute.
  2. Transfer egg mixture to stand mixer. Using whipping attachment bead until thick and fluffy peaks form.
  3. Spoon meringue into gallon Ziploc bag. Cut off tip and arrange decoratively over pie. I then used knife fancy up the top.
  4. To singe the meringue you can either use a blow torch or broiler. If using the broiler I would recommend freezing the pie (I didn’t! :0) instead of chilling before placing meringue. Otherwise, you run the risk of melting the mousse and it gets a bit messy to serve (as seen below, oops!).
  5. Keep refrigerated until ready to serve. Get ready for lots of oohs and ahhs!

IMG_6671